As orthoptists we have managed eye patching therapy for amblyopia (lazy eye) since we qualified, and have developed a wealth of knowledge, tips and tricks to assist our patients in their patching journey. That’s why having a great orthoptist as part of your child’s eye care team is so important!
We know that not everyone can afford the expense of pre-made eye patches, or maybe you’ve run out and are waiting for your order to come in the post. This blog tells you how to make your own eye patches using readily available pharmacy products.
Why not fabric eye patches?
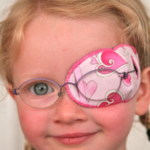
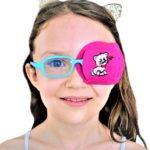
We are often asked why we don’t advocate for fabric eye patches as a first line of treatment for children. We are not against them as such, but feel they should be used only if adhesive eye patching and/or atropine eye drops are not successful, as in our experience adhesive eye patches are the gold standard for getting great improvements in amblyopic vision.
Fabric eye patches that slip onto glasses are becoming more common, and although we do like them and do recommend a couple of brands (blog on this is coming) who produce excellent fabric patches, we have seen too many children fail at treatment due to inappropriately managed eye patching treatment.
Examples of why we prefer adhesive eye patches:
Removing glasses – we have a lot of children who were adapted to their glasses and doing really well, start removing the glasses as there was an eye patch attached to them
Poorly fitting children’s glasses – it is very common to see children’s glasses slipping down their nose. This is so common that we stock a range of products to assist in improving the fit of glasses! Unfortunately if you add a fabric patch to poorly fitting glasses, its simply not going to work as the child will look over the patch and potentially also the glasses.
Supervision level – particularly children at school wearing fabric eye patches do not have as much direct supervision, and this makes it very easy for them to move the patch to peek. Much harder to do with an adhesive eye patch!
What if adhesive eye patches are just not possible?
We must stress that we are not saying ‘no’ to fabric eye patches, simply that the risk of peeking and cooperation issues is much higher in our experience as orthoptists.
Always discuss with your ophthalmologist, optometrist or orthoptist if you are struggling and want to switch to a fabric eye patch or another treatment such as atropine eye drops.
The team at Adelaide Orthoptics offer telehealth appointments, as well as face-to-face appointments to discuss issues, answer questions or provide tailored advice to patients both interstate and local. Telehealth is not available via our HealthEngine link currently – please email reception@adelaideorthoptics.com.au to book an appointment.
Note: all graphics below are copywrite of Adelaide Orthoptics Pty. Ltd. and should not be reproduced without written permission. Please email: reception@adelaideorthoptics.com.au
Getting your child's skin ready to eye patch
No mater the type of adhesive eye patch you use, please make sure your child’s skin is clean and dry.
If they have moisturiser or suncream on their face, please wash the eye area before attaching the eye patch.
How to make your own adhesive eye patch
Homemade adhesive eye patch – type 1
At your local pharmacy purchase one of the following items:
– Hypafix 10cm x 10metre
– Fixomull 10cm x 10metre
Then buy either
– Cotton pads
– Cotton gauze
We always recommend the 10cm width as it is easy to cut out the eye patches on this size. You can make your own patch template out of a piece of card and then use it to cut out multiple patch shapes to use over the next few days.
1. Cut out a square of tape
2. Get a cotton pad or cotton gauze
3. Cut out an eye patch shape, or a square that is appropriate for the size of your child’s face
4. Remove backing sheet and attach cotton pad/gauze
5. Stick to child’s eye area
We recommend soaking off these type of patches, as they have strong adhesive.

Homemade adhesive eye patch – type 2
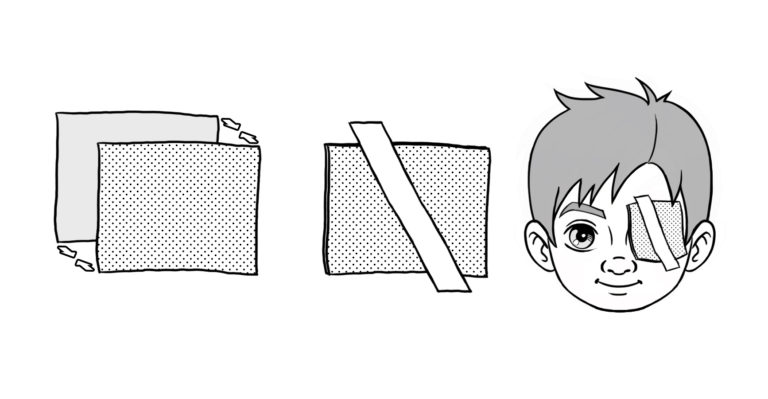
If you are concerned about Hypafix/Fixomull being too adhesive for your child to tolerate you can stick together 2 sections of tape and then attach them with a small section of tape. Alternatively, make one square bigger than the other to create an adhesive edge.
At your local pharmacy purchase one of the following items:
– Hypafix 10cm x 10metre
– Fixomull 10cm x 10metre
At your local pharmacy purchase one of the following types of surgical tape:
– Micropore
– Transpore
– Curasilk
1.25cm or 2.5cm width recommended to get the best attachment of the cotton pad to the face with being excessive or wasting tape.
1. Cut out 2 squares of Hypafix/Fixomull and stick them together, ensure it covers the entire eye area.
2. Attach the square with medical grade tape
Homemade adhesive eye patch – type 3 (children over 3 years)
At your local pharmacy purchase one of the following types of surgical tape:
– Micropore
– Transpore
– Curasilk
1.25cm or 2.5cm width recommended to get the best attachment of the cotton pad to the face with being excessive or wasting tape.
You will then need circular cotton pads.
1. Put cotton pad over the eye area, ensuring that the patch cover right up to the nose
2. Secure the cotton pad with 1 or 2 strips of surgical tape
3. If you child peeks, attach more tape in that area (generally around the nose and brow)
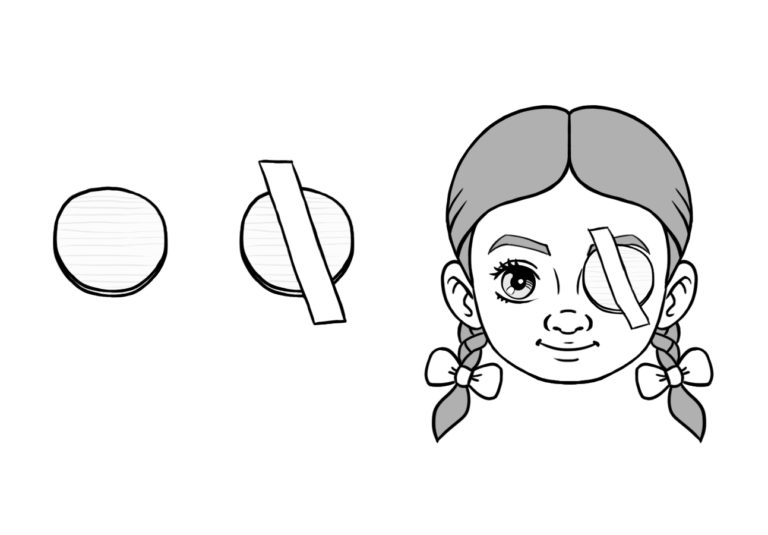
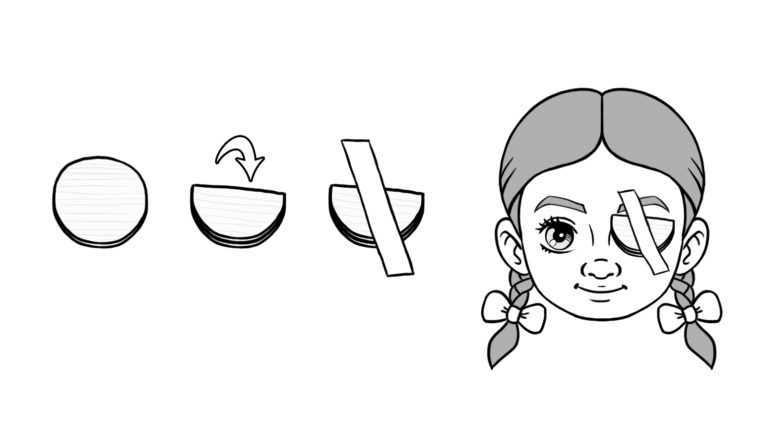
Homemade adhesive eye patch – type 4 (children under 3 years)
Instructions as type 3, except fold the patch ensuring the eye area is completely covered.
-
Sale!
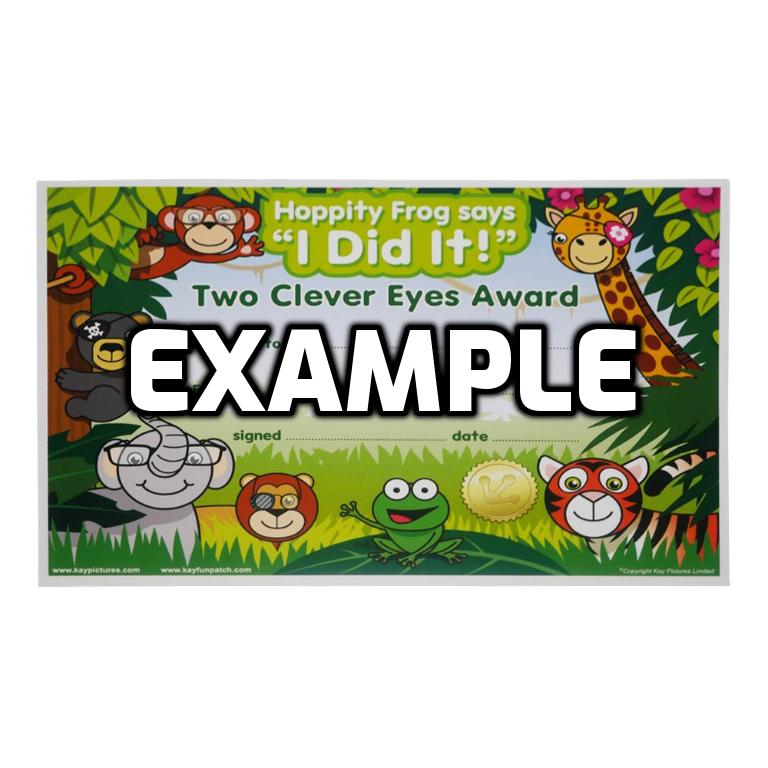
Reward Certificate
$2.50Original price was: $2.50.$2.00Current price is: $2.00. Add to cart -
Sale!

Patching Reward Chart
$2.50Original price was: $2.50.$2.00Current price is: $2.00. Add to cart -
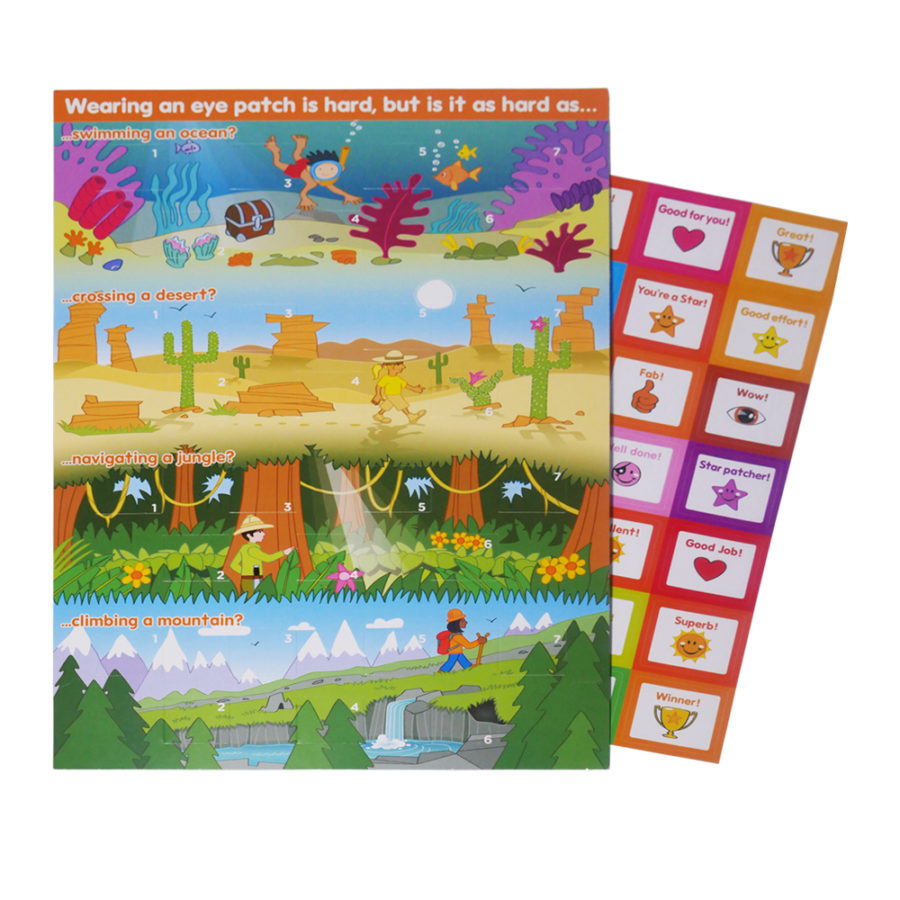
Patching Calendar + Sticker Set
$7.50 Add to cart -
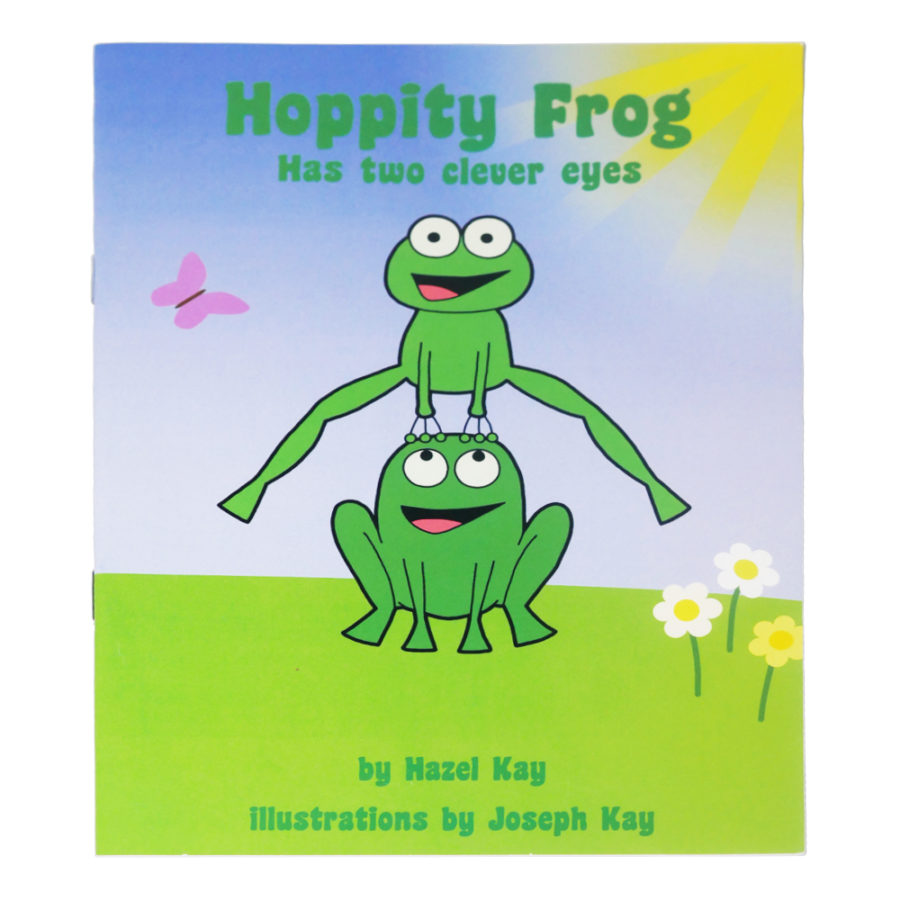
Hoppity Frog Book – Amblyopia Therapy
$7.00 Add to cart -

Patching Superstar Reward Pack
$6.00 Add to cart -
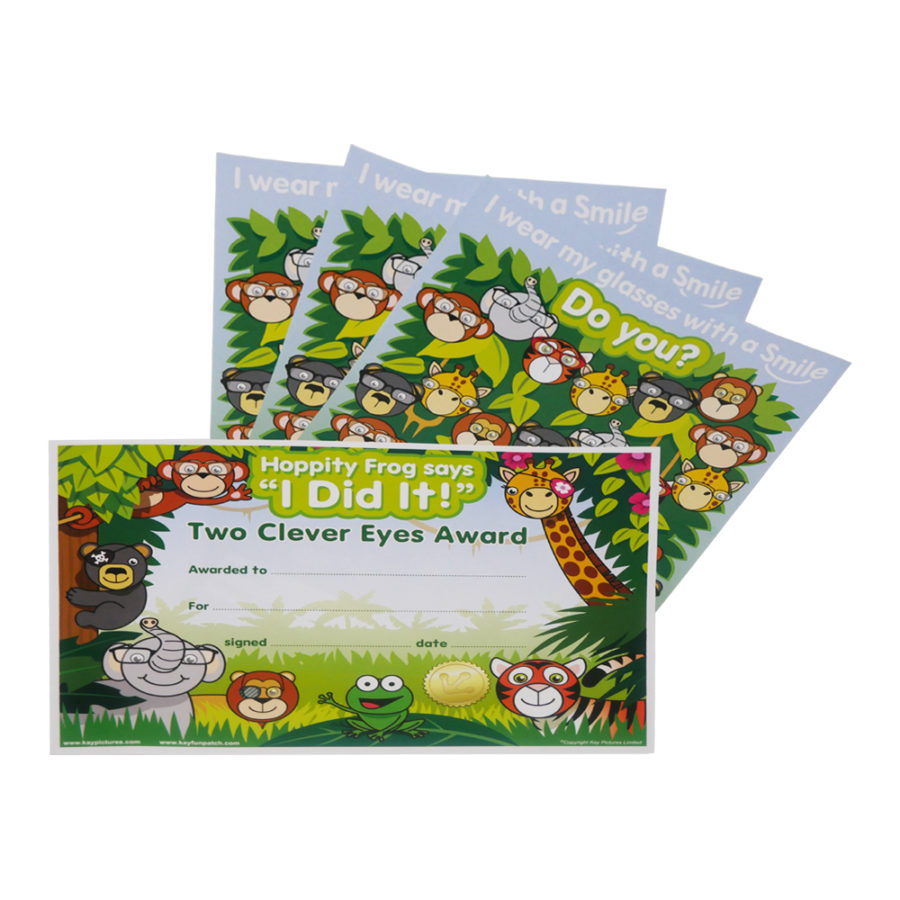
Glasses Superstar Reward Pack
$6.00 Add to cart

